
Replacing a shower head is actually not complicated. In most cases, you don't need to hire a professional. By following the correct steps, the installation can be completed in just a few minutes. Below, we will guide you step by step through the installation process, covering choosing a shower head, preparing tools, the installation steps, and practical tips.
1. Choosing a New Shower Head
Before starting the installation, you first need to choose a shower head that suits your needs. There are various types of shower heads on the market, each offering different user experiences and features. The most common types include:
1.1 Fixed Shower Heads
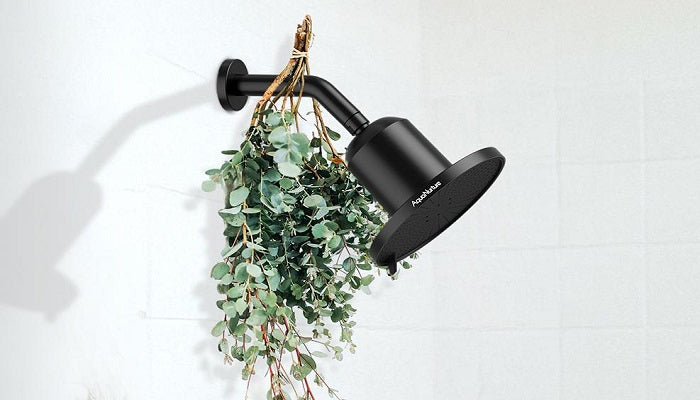
Fixed shower heads are installed directly on the shower arm mounted on the wall. The water angle is fixed, and installation is simple, making it a common choice for most households. Rainfall shower heads usually have a large water coverage area, ideal for those who prefer a relaxing and even shower experience.

1.2 Handheld Shower Heads
Handheld shower heads come with a flexible hose, allowing for free movement and angle adjustment. They are more versatile, convenient for rinsing specific parts of the body, cleaning the shower area, or bathing children and pets. They are suitable for households that need greater flexibility.

1.3 Filtered Shower Heads
Filtered shower heads add a filtration system to a regular shower head, helping reduce impurities, chlorine, or heavy metals in the water. This makes them gentler on the skin and hair, especially suitable for people with sensitive or dry skin, or households with infants.

1.4 Multi-Function Shower Heads
These shower heads usually support multiple water flow modes, such as rainfall, massage, or mist, allowing you to switch between modes according to your needs. They balance comfort and practicality.

When choosing, you can consider the following points to determine which type suits you best:
- Installation type: Most households use standard-interface fixed shower heads that can be screwed on directly
- Function needs: Whether you need multiple water modes, filtration, or water-saving features
- User group: For households with infants or people with sensitive skin, it is recommended to choose a gentle-flow shower head with filtration
Once you confirm that the new shower head is compatible with your shower arm, you can move on to preparing for installation.
2. Preparing Tools and Materials
Preparing tools and materials in advance can make the replacement process smoother. Necessary tools and materials include:
- Adjustable wrench or pliers
- Electrical tape or a towel (to protect metal surfaces)
- Thread seal tape (PTFE tape)
- Cloth and mild cleaning detergent

3. How to Replace a Shower Head
Step 1:Pre-installation preparation
- Turn off the water supply to the shower head, or shut off the main water valve in your home to prevent water from suddenly flowing during installation.
- Clean the shower arm and surrounding area with a cloth and mild detergent to remove any buildup or residue, creating a clean environment for installation.
Step 2: Turn off the main water valve
Step 3: Remove the old shower head
Try turning the old shower head counterclockwise by hand to remove it.
If it cannot be loosened:
- Wrap the jaws of a wrench with electrical tape, or wrap a towel around the shower arm to prevent scratching the surface
- Hold the shower arm with pliers, then use an adjustable wrench to turn the old shower head counterclockwise
Step 4: Clean the threads
Remove rust, mineral deposits, old seal tape, or leftover sealant from the shower arm threads. This step is crucial to prevent leaks after installing the new shower head.
Step 5: Wrap thread seal tape
Wrap PTFE tape clockwise around the shower arm threads 2–3 times.
Press the tape into the threads with your fingers to ensure it fits snugly.
Step 6: Install the new shower head
Check the washer inside the new shower head connector, making sure it is properly seated and flat
Screw the new shower head onto the shower arm clockwise and tighten it.
When installed correctly, the threads should engage smoothly and turn easily before tightening fully.
If you need to use force immediately, the threads may not be aligned. Loosen and realign to avoid damaging the connection.
4. Practical Tips for Replacing a Shower Head
To ensure a smooth installation, safe use, and a leak-free connection, consider the following practical tips:
4.1 Read the product manual in advance
Always carefully read the manufacturer's installation guide. Although most shower head sizes and connections follow standard specifications, there may be small differences in structural details between products.
4.2 Confirm size and space compatibility
Check the shower head's dimensions, spray face size, and required installation space before purchase. Also, consider the height and angle to ensure the shower head fits perfectly in your bathroom layout and meets your usage needs.
4.3 Avoid excessive force
When installing or removing the shower head, tightening is enough—do not overtighten. Too much force can damage threads, make future removal difficult, or even cause pipe issues.
4.4 Use proper sealing
If there is minor leakage after installation, wrap an additional layer of PTFE tape. Note that some shower heads come with rubber washers, in which case additional tape may not be necessary.
4.5 Handle pipes carefully
When removing or adjusting pipe components, do not forcefully move them, as this may cause serious pipe damage and high repair costs. If adjustment is necessary, insert a wrench or screwdriver to stabilize the pipe before moving.
4.6 Check before first use
After installation, turn on the water and carefully inspect the shower head connection for leaks. Ensure everything is functioning properly before regular use.
4.7 Regular cleaning and maintenance
Clean the shower head regularly to reduce limescale and mineral buildup, helping maintain smooth water flow and extending the shower head's lifespan.
By following these steps, you can easily install a new shower head. Not only will it save on maintenance costs, but it will also immediately improve your daily shower experience. Choosing a filtered shower head can further improve water quality, making it gentler on your skin and hair.
FAQ About How to Install a New Shower Head
1. What should I do if water leaks after installation?
Turn off the water and add another layer of PTFE tape if needed. Ensure the threads are clean and aligned properly, then reinstall the shower head.
2. How do I maintain my new shower head?
Regularly clean the spray nozzles and remove mineral deposits to maintain smooth water flow and extend the shower head’s lifespan.
3. How do I check if my installation is correct?
After installation, turn on the water and carefully inspect the connection for leaks. Make sure the shower head is securely tightened and positioned at the desired angle.
4. Are there any precautions when handling pipes?
Yes. Avoid forcefully moving or twisting pipe components. If you need to adjust the pipe, stabilize it first with a wrench or screwdriver to prevent damage and costly repairs.

Leave a comment
This site is protected by hCaptcha and the hCaptcha Privacy Policy and Terms of Service apply.